If you woke up on January 1, 2026, to discover that Amazon officially ended its FBA prep services, you weren't alone. Thousands of established brands suddenly found themselves scrambling to figure out how to polyag, label, and prep their inventory without Amazon's safety net.
Here's the thing, this isn't a disaster. It's a pivot point.
For brands that have been coasting on Amazon's prep services, this feels like a margin-threatening crisis. But for CEOs who understand logistics as a competitive advantage, this is an opportunity to optimize operations, reduce dimensional weight fees, and take control of the entire fulfillment process.
In this guide, we'll walk through the exact five-step plan to replace Amazon's FBA prep services without disrupting your operations or bleeding margin. We'll cover:
- How to audit your current FBA workflow (so you know what you're actually replacing)
- The real math behind in-house vs. 3PL prep costs
- How to identify "Amazon-native" logistics partners that won't get your inventory rejected
- Why a hybrid FBA/3P fulfillment model protects your business
- How to use this transition to optimize packaging and slash dimensional weight fees
Let's dive in.
The Real Threat to Your Margins (And It's Not What You Think)
Most sellers are panicking about finding a prep provider. That's the wrong problem to solve.
The real threat is rushing into a poorly vetted 3PL relationship that creates more problems than it solves, rejected shipments, compliance violations, inconsistent labeling, or worse, getting your inventory stuck in limbo while your Buy Box disappears.
Amazon didn't end prep services because they wanted to make your life harder. They did it because sellers have gotten better at prep, and because it allows them to shift responsibility (and liability) onto you and your logistics partners.
Your job as a CEO isn't to replace a service. It's to build a more resilient, cost-effective fulfillment operation that gives you leverage, not dependency.

Step 1: Audit Your Current FBA Workflow (Yes, All of It)
Before you call a single 3PL, you need to understand what your current FBA workflow actually looks like.
Here's what to document:
- Current prep requirements by product: Which SKUs need polybags, bubble wrap, suffocation warnings, or expiration date labels?
- Current cost per unit for Amazon's prep services: If you were paying Amazon $0.30–$0.80 per unit, that's your baseline to beat (or match with better service).
- Average shipment volume and frequency: Are you sending 500 units weekly or 10,000 units monthly? This determines whether you need a dedicated 3PL or can handle it in-house.
- Compliance violations in the past 12 months: If you've received warnings for improper labeling or prep, you need a partner who won't repeat those mistakes.
- Inventory arrival times: How long does it currently take from your manufacturer to Amazon's receiving dock? This is your benchmark.
Most brands skip this step and jump straight to Googling "FBA prep services near me." That's how you end up with a 3PL that can't scale with you or doesn't understand Amazon's specific requirements.
Pro tip: Export your FBA shipment history from Seller Central and analyze your prep costs per ASIN. You'll quickly see which products are costing you the most and where optimization opportunities exist.
Step 2: Calculate the True Cost of In-House vs. 3PL Prep
This is where the CEO mindset comes in. You're not choosing based on convenience, you're choosing based on total cost of ownership.
In-House Prep: The Hidden Costs
If you're considering bringing prep in-house, here's the full math:
- Labor: $15–$25/hour for trained warehouse staff (not your marketing team moonlighting in the garage)
- Space: Warehouse rent, utilities, insurance, often $8–$15/sq ft annually
- Equipment: Heat sealers, label printers, scales, packing stations, $2,000–$10,000 upfront
- Supplies: Polybags, bubble wrap, labels, suffocation warning stickers, $0.10–$0.40 per unit
- Errors and rejects: Amazon's receiving teams don't forgive mistakes. One rejected shipment can cost thousands in reshipment fees and lost sales.
Formula:
True In-House Cost = (Labor Hours × Hourly Rate) + (Space Cost / Units Prepped) + Supply Cost Per Unit + Error Rate Impact
3PL Prep: The Real Numbers
Most amazon fba prep service providers charge:
- Per-unit prep fees: $0.30–$1.50 depending on complexity
- Receiving fees: $0.10–$0.30 per unit for intake
- Storage fees: $8–$20 per pallet per month (if they're holding inventory before sending to Amazon)
- Shipping fees: Usually freight-forwarded at cost plus a small markup
The kicker? A good 3PL eliminates your error rate, reduces your labor overhead, and gives you scalability without hiring. A bad 3PL creates compliance nightmares and eats your margin with surprise fees.
If you're doing fewer than 5,000 units per month, 3PL almost always wins on total cost. If you're doing 20,000+ units monthly, in-house starts to make sense, but only if you have the operational discipline to manage it.
Need help with the math? This is where an Amazon agency specializing in logistics can save you thousands.

Step 3: Vet for "Amazon-Native" Logistics Partners (Not Just Any 3PL)
Here's where most brands make a fatal mistake: they hire a general 3PL that has never dealt with Amazon's prep requirements.
Not all 3PLs understand Amazon fba logistics. In fact, most don't.
What "Amazon-Native" Actually Means
An Amazon-native logistics partner:
✅ Understands Amazon's FBA prep requirements (polybags, suffocation warnings, expiration labels, FNSKU placement)
✅ Has direct integrations with Seller Central for shipment creation and tracking
✅ Knows Amazon's receiving standards at specific fulfillment centers (yes, they vary by FC)
✅ Can handle AWD, AGL, and SEND programs, not just FBA
✅ Has a track record of zero or near-zero compliance violations for their clients
How to Vet a Potential Partner
Ask these questions:
- "What percentage of your clients are Amazon sellers?" (You want 70%+ minimum)
- "What's your reject rate at Amazon FCs?" (Should be under 1%)
- "Do you handle labeling, polybags, and suffocation warnings in-house?" (Yes or walk away)
- "Can you show me a sample shipment from creation to FC check-in?" (Transparency is everything)
- "What's your turnaround time from receiving inventory to shipping to Amazon?" (Should be 24–48 hours for standard prep)
Pro tip: Use Amazon's Service Provider Network (SPN) to find vetted FBA prep providers. They've already passed Amazon's compliance and quality checks.
Step 4: Implement a Hybrid FBA/3P Model for Redundancy
Here's the CEO move: Don't put all your eggs in one basket.
Even with the best FBA prep partner, you need a backup plan. Amazon's fulfillment network can experience delays, capacity limits, or regional stockouts. Relying 100% on FBA leaves you vulnerable.
How a Hybrid Model Works
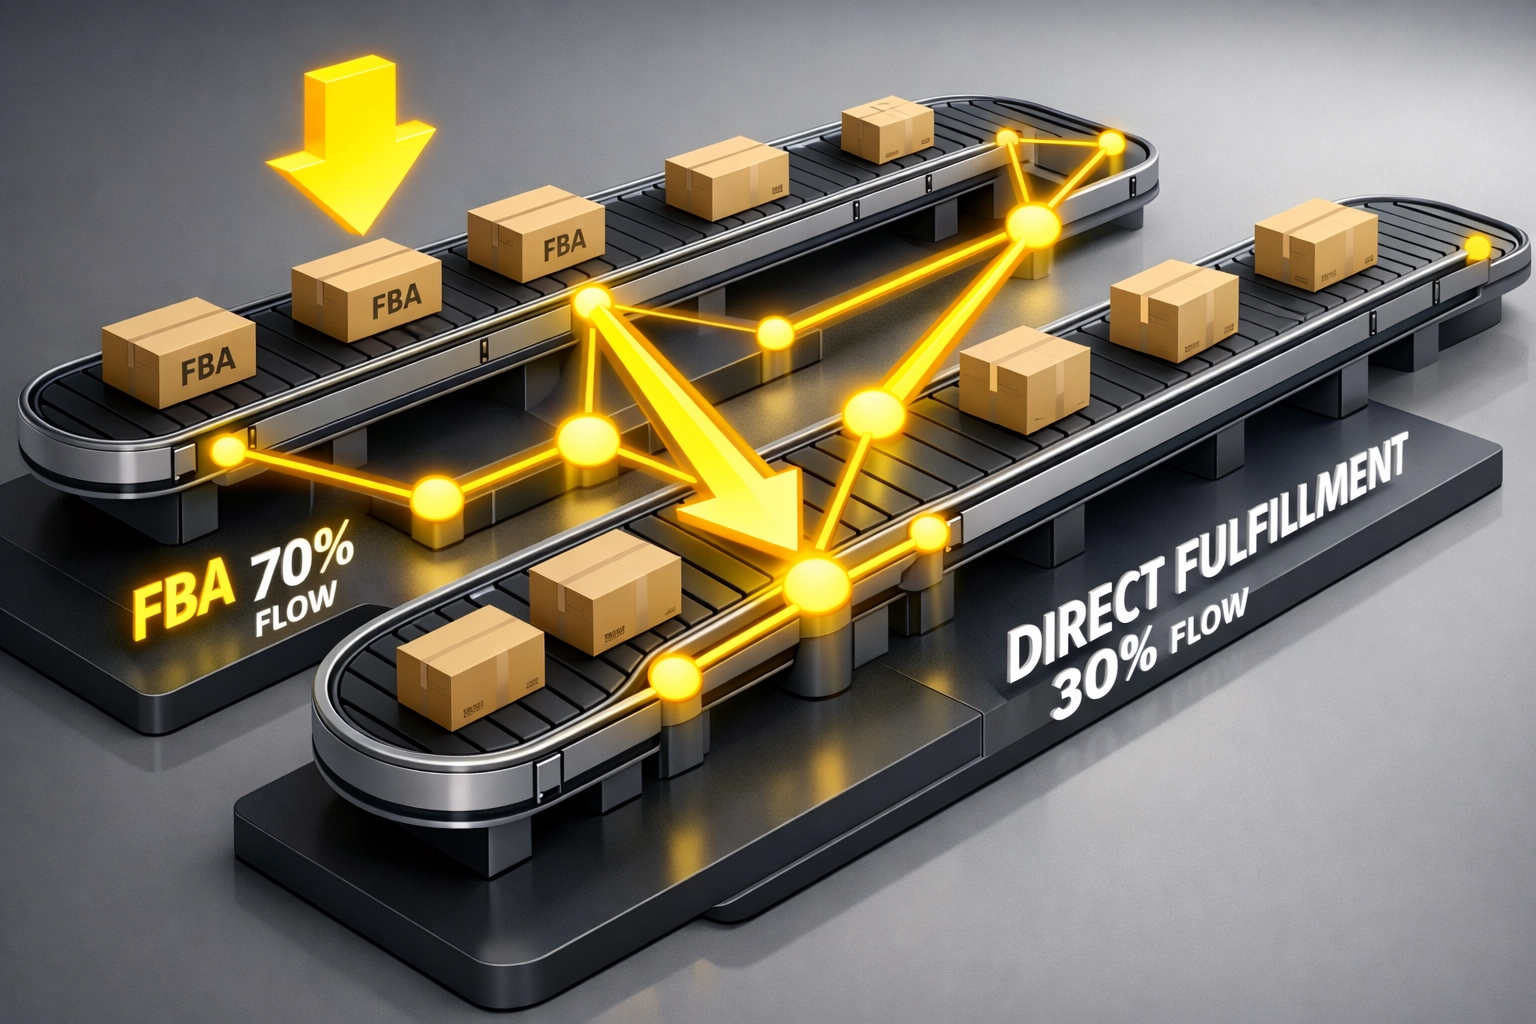
- 70–80% of your inventory goes through FBA for Prime eligibility and fast shipping
- 20–30% stays with a 3PL for direct fulfillment via Seller Fulfilled Prime (SFP) or standard merchant fulfillment
This gives you:
✅ Redundancy: If Amazon's network gets overwhelmed (hello Q4), you can fulfill from your 3PL
✅ Faster restocking: Your 3PL can prep and ship to Amazon faster than manufacturer → FC
✅ Lower storage fees: Some inventory stays out of FBA long-term storage
✅ Geographic flexibility: Place inventory closer to your highest-demand regions
The strategy? Use your 3PL as both your FBA prep partner and your backup fulfillment option. This is exactly the type of operational leverage that separates 7-figure brands from 8-figure brands.
If you're not sure how to structure this, an Amazon account management service can architect the entire hybrid model for you.

Step 5: Leverage the Data to Optimize Packaging and Reduce Dimensional Weight Fees
Most brands treat FBA prep as a cost center. Smart brands treat it as a data goldmine for margin optimization.
Now that you're working directly with a prep partner (or handling it in-house), you have access to something Amazon never gave you: granular packaging and dimensional weight data.
How to Use This Data
1. Analyze dimensional weight by SKU
Amazon charges FBA fees based on the greater of actual weight or dimensional weight. If your packaging is unnecessarily bulky, you're overpaying.
Formula:
Dimensional Weight = (Length × Width × Height) / 139
Work with your prep partner to test smaller packaging configurations. Reducing dimensions by even 1 inch can drop you into a lower fee tier.
2. Optimize product bundling
If you're selling multi-packs or bundles, you may be paying dimensional weight fees on inefficient packaging. Test shrink-wrapping or custom boxes that reduce cubic inches.
3. Negotiate better freight rates
Once you're sending consolidated shipments to Amazon (instead of one-off manufacturer shipments), you have leverage to negotiate LTL and truckload freight rates. This alone can save 15–30% on inbound logistics.
4. Track your cost per unit across the entire supply chain
Your prep partner should provide dashboards showing:
- Prep cost per unit
- Freight cost per unit
- FBA fees per unit
- Total landed cost per unit
This is the data that allows you to make real margin decisions: like whether to source from a cheaper factory or invest in better packaging design.
If you're not tracking this, you're flying blind. And if you're also ignoring Amazon's 2026 FBA fee changes, you're leaving thousands on the table.
The Bottom Line: Don't Replace a Service, Build a System
Amazon ending FBA prep services isn't a crisis: it's a forcing function.
It's forcing you to take ownership of your logistics, optimize your supply chain, and build operational leverage that your competitors are too lazy or too scared to pursue.
Here's your action plan:
✅ Audit your current FBA workflow and document every cost
✅ Run the full cost analysis on in-house vs. 3PL prep
✅ Vet Amazon-native logistics partners using the SPN and our criteria
✅ Implement a hybrid FBA/3P model for redundancy and flexibility
✅ Use the data to optimize packaging and reduce dimensional weight fees
If this feels overwhelming, you're not alone. Most established brands don't have the bandwidth to rebuild their entire fulfillment operation while also managing PPC, amazon listing optimization, and growth strategy.
That's where Marketplace Valet comes in. We handle the entire logistics transition: from 3PL vetting to hybrid model implementation to ongoing optimization: so you can stay focused on scaling revenue and protecting margin.
Ready to pivot without panic? Let's talk about your FBA prep strategy.
Looking for more insights on scaling your Amazon business in 2026? Check out our guide on working with an Amazon agency to maximize profits.