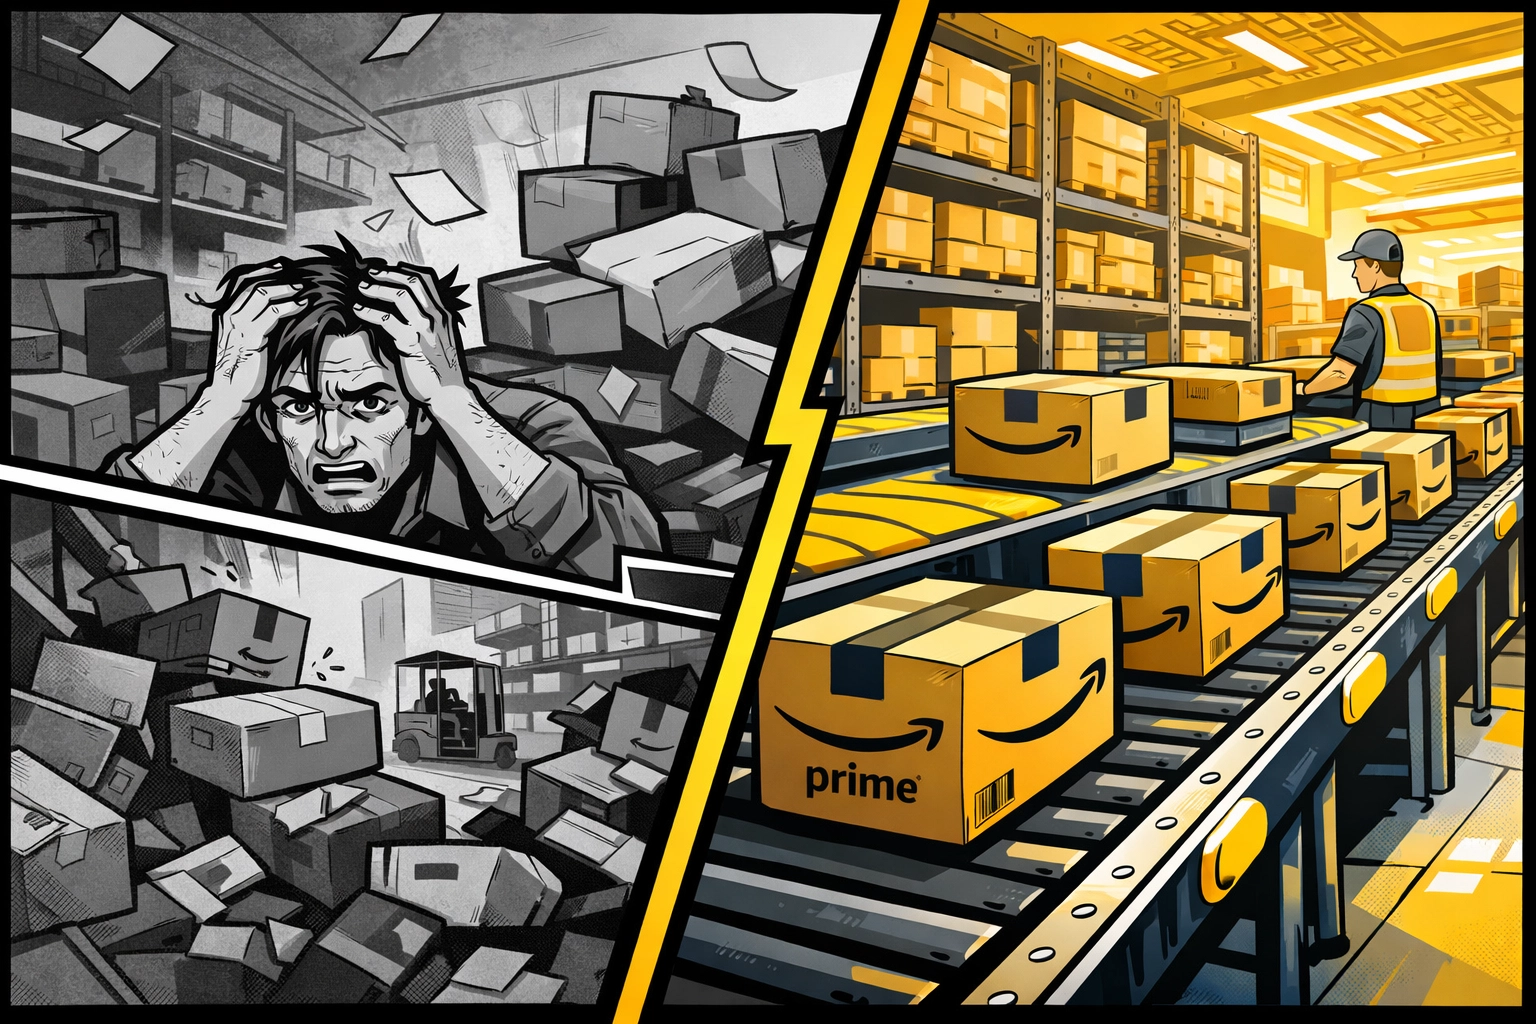
You've cracked the code on your first winning product. Sales are climbing. Your Amazon dashboard shows green arrows everywhere. Everything looks incredible: until you check your actual profit margins and realize they're shrinking faster than your inventory during Prime Day.
Welcome to the scaling paradox: growing revenue while watching profitability evaporate.
Here's what we'll cover in this playbook:
- Why traditional scaling approaches destroy margins (and what actually works)
- The operational framework that protects profitability while you grow
- How to optimize advertising without bleeding budget
- Strategic product portfolio expansion that compounds margins instead of cannibalizing them
- When working with an amazon agency makes financial sense versus staying in-house
Let's dive in!
The Hidden Margin Killers Nobody Talks About
Most sellers approach scaling with a simple formula: more products + more ad spend = more revenue. The math checks out on paper. In reality, this approach creates a margin death spiral.
Here's what actually happens:
Your cost structure explodes in ways you didn't anticipate. Storage fees compound as you stock more SKUs. Your manual processes that worked fine at $50K/month become bottlenecks at $200K/month. Customer service tickets multiply. Returns increase. PPC costs rise as competition intensifies. Suddenly you're doing 4x the revenue but taking home less actual profit than you did six months ago.
The brutal truth? You can't scale your way to profitability by working harder.

Build Systems, Not Heroic Efforts
The fundamental shift required for margin-protecting scale is moving from hustle-based operations to system-based operations.
Here's what that means in practice:
Document Everything That Touches Revenue
Every repetitive task that impacts sales, costs, or customer experience needs a written SOP (Standard Operating Procedure). Not a mental note. Not a "I'll show them when they start." An actual documented process with:
- Step-by-step instructions
- Screenshots or video walkthroughs
- Quality check criteria
- Clear ownership assignment
- Performance metrics
This includes:
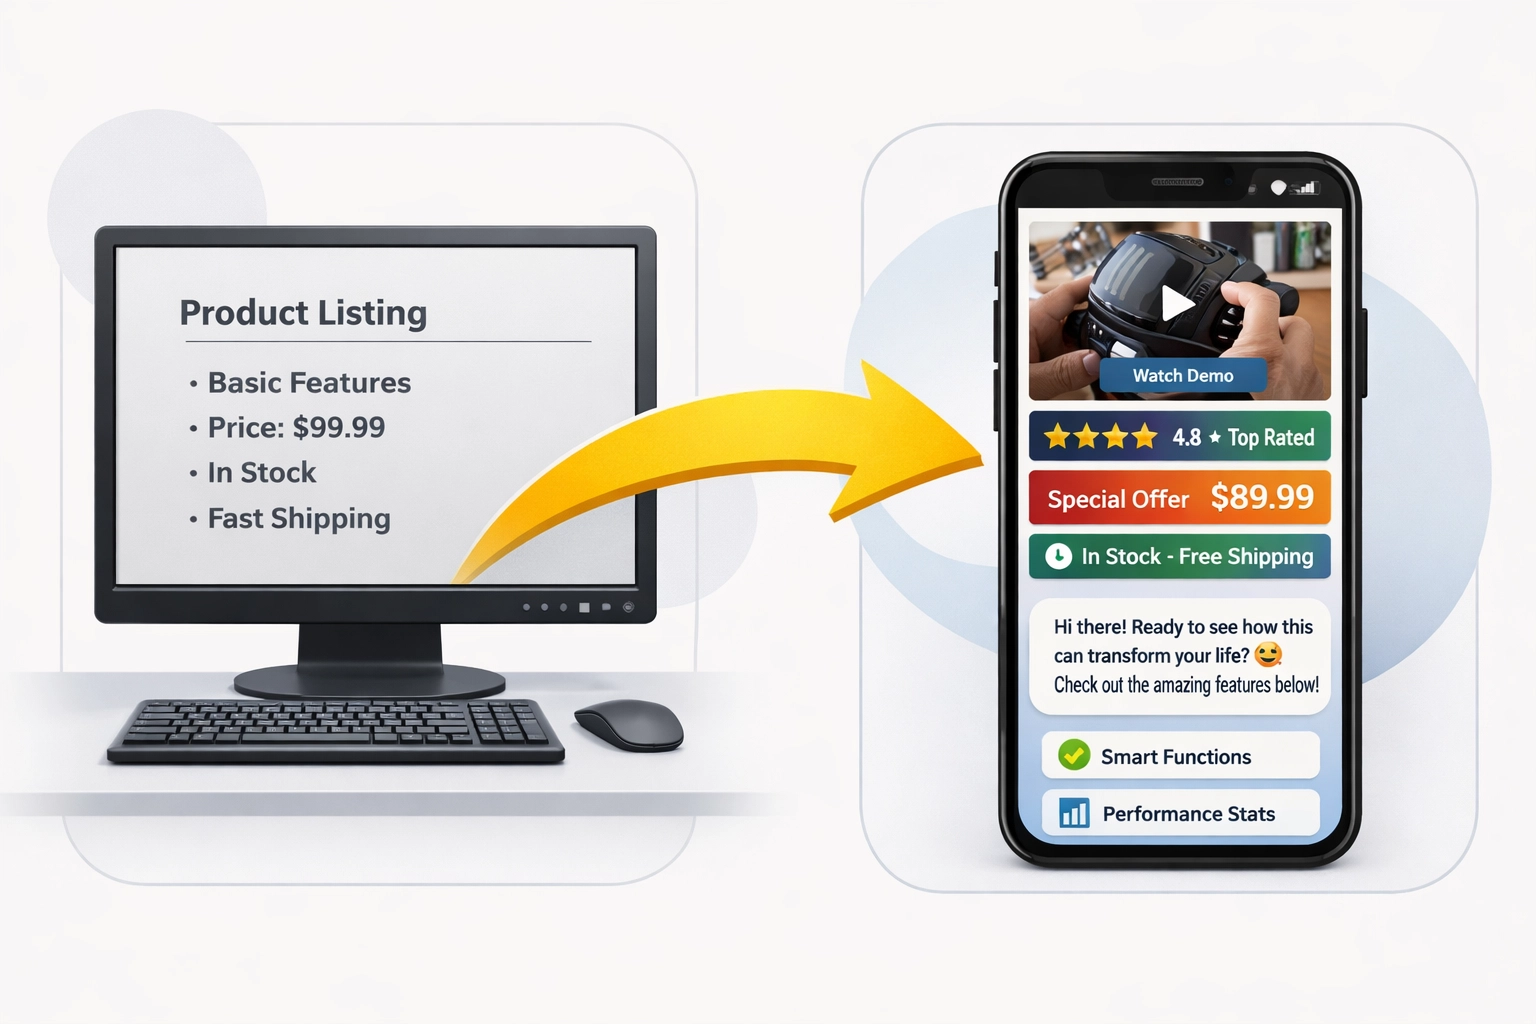
- Listing creation and amazon listing optimization processes
- Inventory reorder calculations and timing
- PPC campaign setup and management protocols
- Customer service response templates
- Review request sequences
- Amazon reimbursement audit procedures
When your product photographer quits, your new hire should be able to follow your photography SOP and produce identical results. When you're on vacation, your VA should execute your PPC reviews using your documented framework without texting you seventeen questions.
Systems prevent margin leaks from inconsistency.
Every time someone makes a different decision about supplier negotiations, shipping methods, or ad bid adjustments, you introduce variance. Variance creates inefficiency. Inefficiency destroys margins at scale.
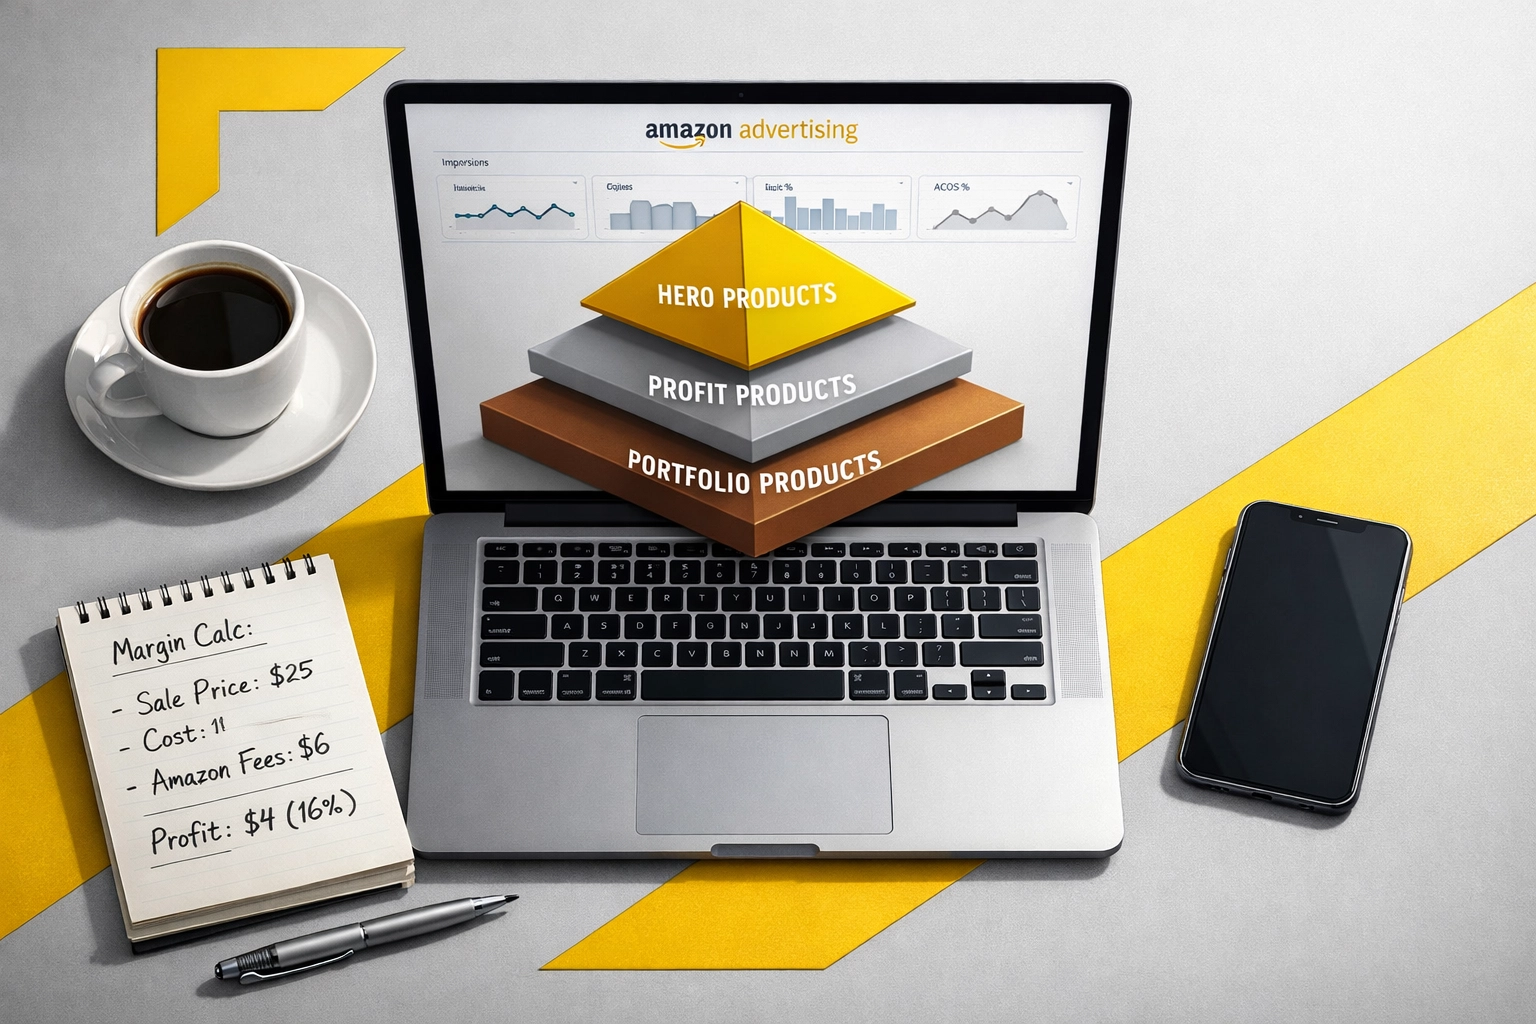
Strategic Product Portfolio Development
Single-product businesses are fragile. One negative review storm, one supplier issue, one competitor undercutting your price: and your entire revenue stream is at risk.
But adding products randomly is equally dangerous.
The Portfolio Framework That Protects Margins:
Product Selection Criteria
Before launching anything new, evaluate against these margin-protection filters:
✅ Consistent Demand Profile – Products with stable, year-round demand protect you from inventory risk. Seasonal spikes create margin problems through:
- Overstock situations that generate storage fees
- Clearance discounting that tanks profitability
- Capital tied up in dead inventory
✅ Margin Enhancement Potential – New products should either:
- Have higher base margins than your current catalog average
- Create bundle opportunities that improve overall cart value
- Generate subscription/replenishment revenue (higher lifetime value)
- Complement existing products without cannibalizing sales
✅ Operational Compatibility – Can this product leverage your existing:
- Supplier relationships and shipping methods
- Photography and content creation workflows
- Customer service knowledge base
- PPC campaign structures and learnings
❌ Avoid These Margin Traps:
Products requiring completely new:
- Supplier networks (higher MOQs, worse payment terms initially)
- Compliance or certification processes (expensive, time-consuming)
- Customer service expertise (training costs, handling complexity)
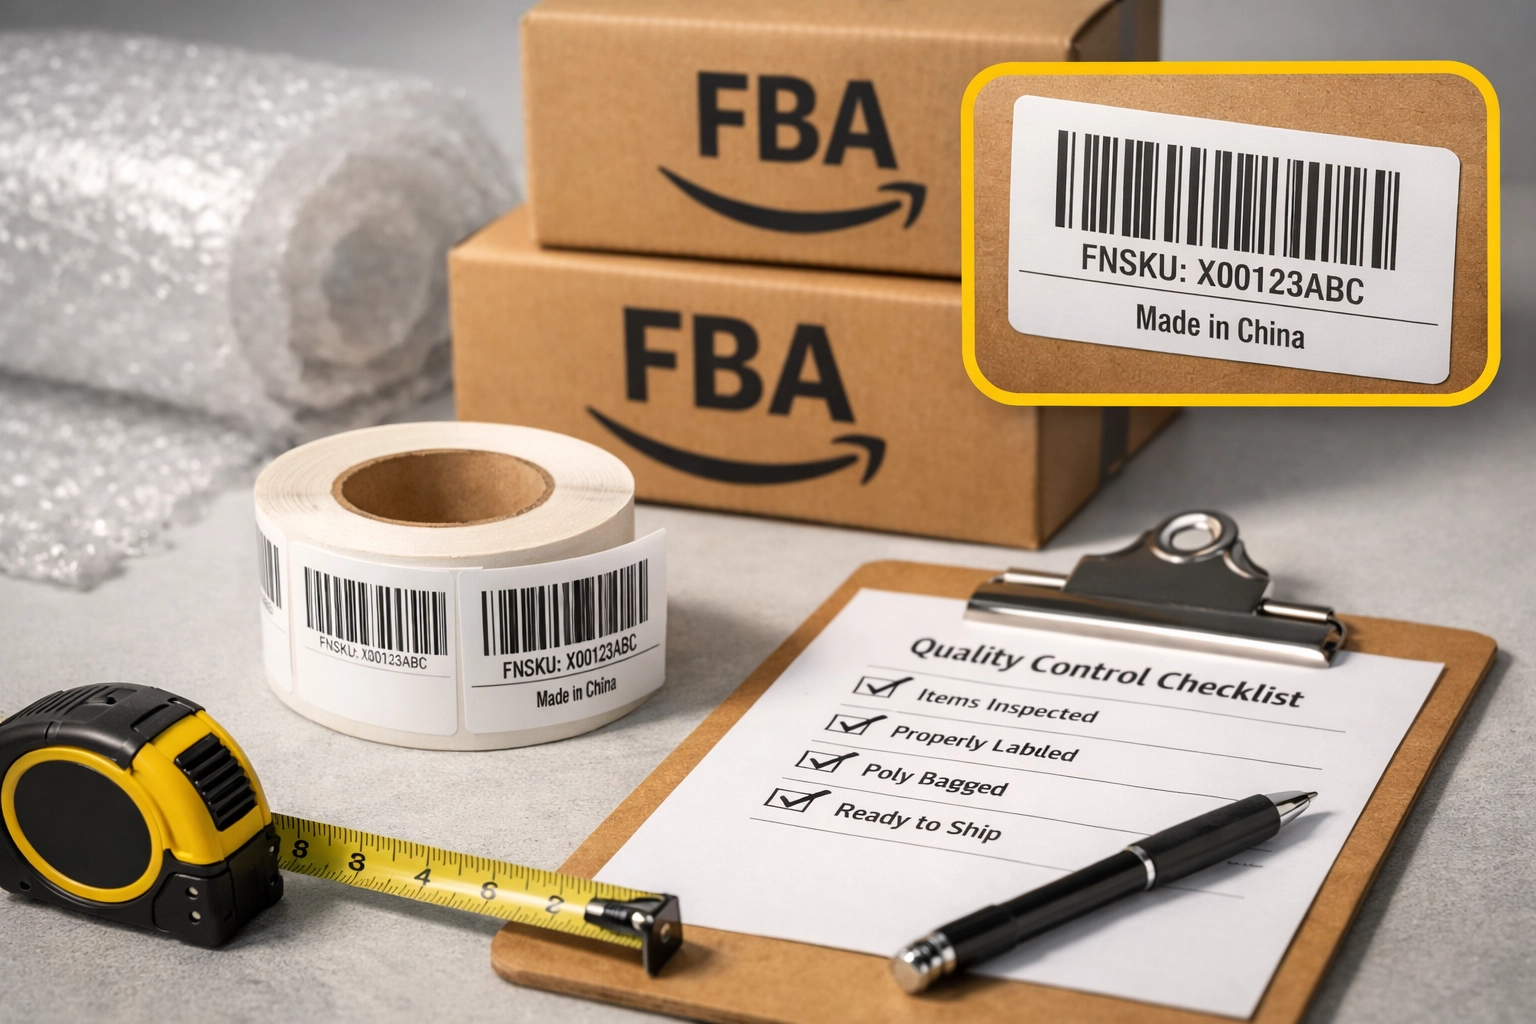
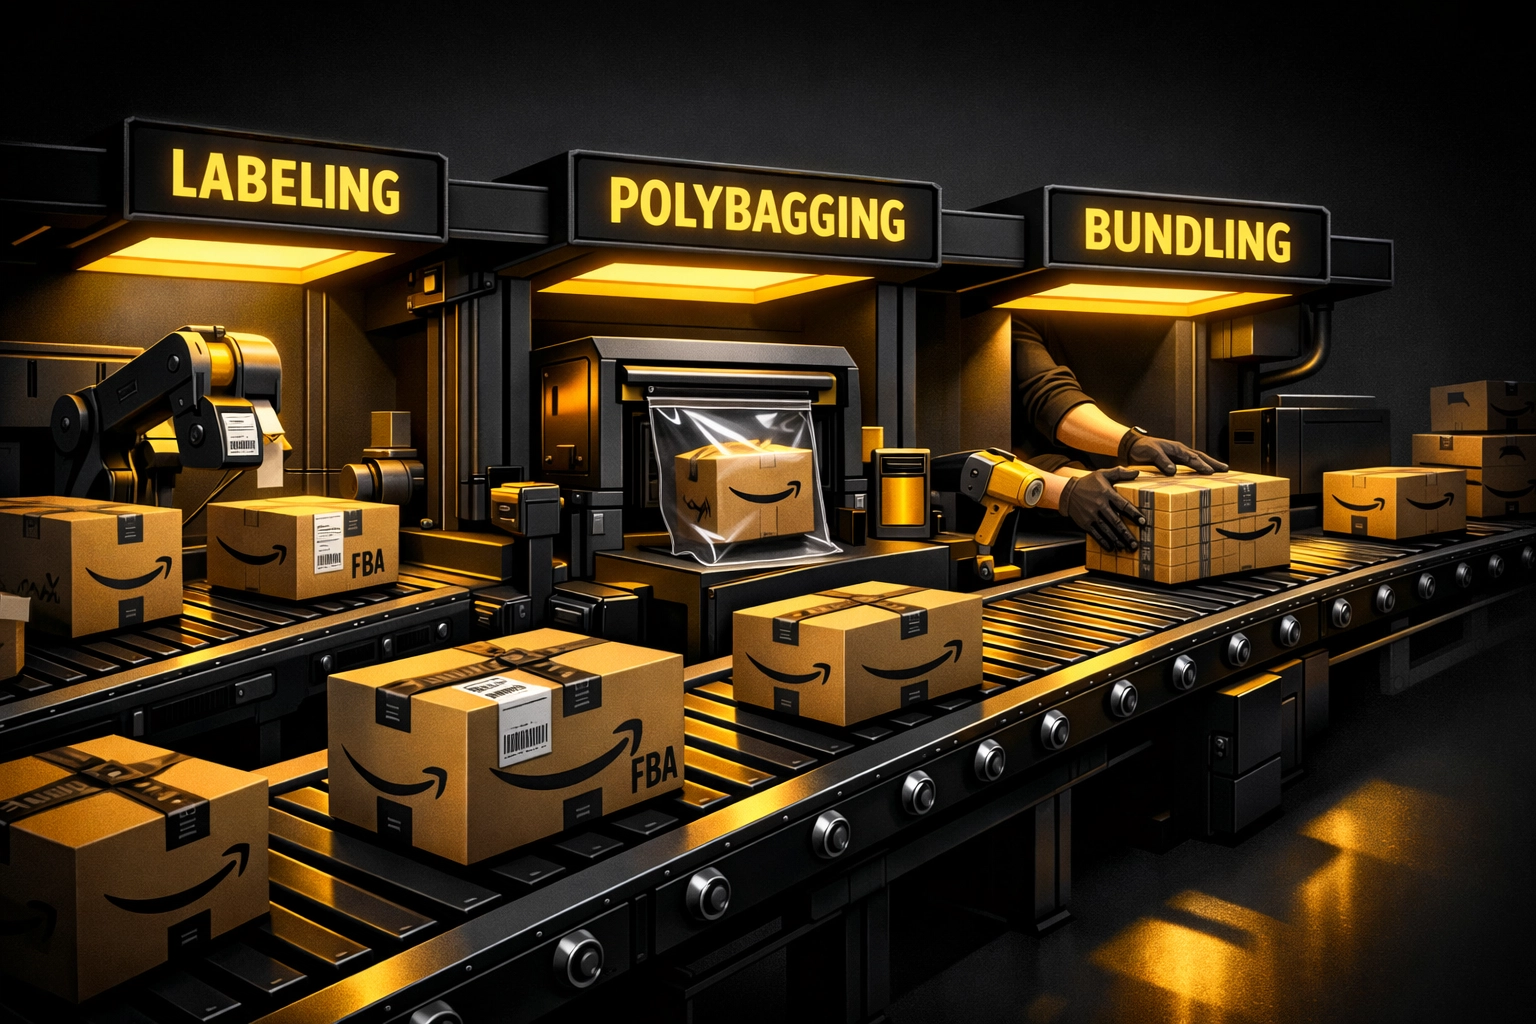
- Shipping methods or amazon fba prep service requirements
Variation and Bundle Strategy
The fastest way to expand revenue while protecting margins is working smarter with products you already sell.
Variations – If you sell a successful phone case, launching color variations costs almost nothing in operational complexity but expands your catalog reach. Same supplier, same photography setup, same customer questions, same PPC learnings: but now you capture customers searching for "blue phone case" who would have bounced from your black-only listing.
Bundles – Combining complementary products creates margin expansion through:
- Higher average order value on the same traffic acquisition cost
- Improved conversion rates (convenience factor)
- Reduced customer acquisition cost per transaction
- Better perceived value (discounted bundle vs individual pricing)
Pro tip: Your first three product expansions should be variations or bundles of proven winners. Only after you've exhausted those opportunities should you introduce completely new product categories.

Advertising Optimization for Profitable Scale
Your ACoS (Advertising Cost of Sales) target isn't a single number: it's a dynamic target based on product maturity and strategic objectives.
The Tiered ACoS Framework:
New Product Launch (Months 1-3):
- Target ACoS: 40-60%
- Objective: Visibility and market positioning
- Why the high spend? You're buying reviews, ranking momentum, and data about what converts
Established Products (Months 4-12):
- Target ACoS: 20-30%
- Objective: Balance growth and profitability
- Focus: Optimize campaigns based on launch data, eliminate waste
Mature Bestsellers (Year 2+):
- Target ACoS: 15-20%
- Objective: Maximize profit extraction
- Approach: Defensive campaigns protecting position, hyper-targeted spending
This is where most sellers destroy their margins: They apply the same ACoS target across all products regardless of maturity. They either overspend on mature products (leaving money on the table) or underfund new launches (preventing them from ever reaching profitability).
The Campaign Scaling Decision Framework
Don't increase ad spend because revenue is growing. Increase ad spend based on profitability thresholds.
Here's the decision tree:
-
Review campaign ACoS – Is it below your target threshold for this product's maturity stage?
- If NO → Optimize, don't scale. Fix targeting, keywords, creative first.
- If YES → Proceed to step 2.
-
Check conversion rate trend – Is CVR stable or improving as you've increased spend?
- If NO → You're hitting market saturation. Shift budget to different targeting.
- If YES → Proceed to step 3.
-
Evaluate total profit contribution – Is this campaign's absolute profit growing?
- If NO → ACoS might look good but volume is too low. Test new keyword opportunities.
- If YES → Scale budget by 20-30%, monitor for one week, repeat.
For complex amazon ads management, this requires daily monitoring and weekly optimization. Most in-house teams don't have bandwidth for this level of rigor, which is where specialized amazon advertising agency partners add value: they have the systems and team structure to maintain this operational intensity without burning out.
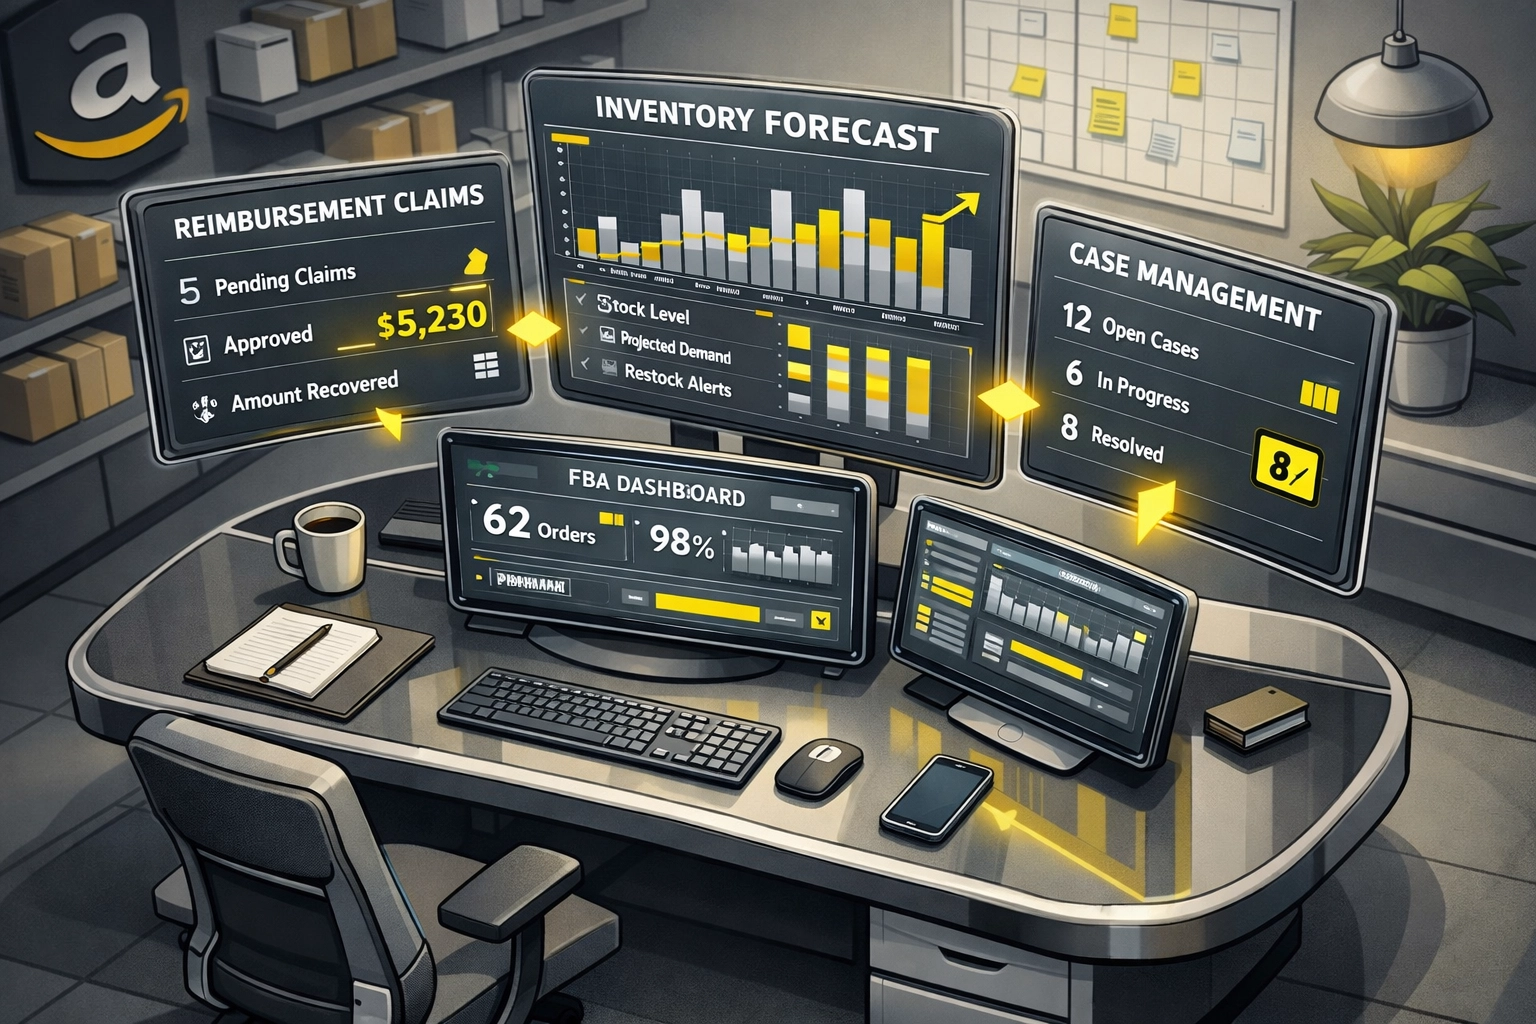
Operational Rhythms That Catch Margin Leaks Early
The difference between sellers who scale profitably and those who scale into chaos is the discipline of regular business reviews.
Weekly Revenue Operations Check (30 minutes):
- PPC performance by campaign (ACoS, spend, profit contribution)
- Inventory levels vs forecast (stockout risks, overstock situations)
- Top customer service issues (emerging product problems, listing confusion)
- Competitor pricing movements (race-to-bottom signals)
Monthly Financial Deep Dive (2 hours):
- Revenue breakdown by product/variation
- True profitability by SKU (including allocated overhead)
- Ad spend efficiency by product category
- Cash flow projection for next 60 days
- Margin trend analysis (improving or eroding?)
Quarterly Strategic Review (half day):
- Market share analysis (are you gaining or losing ground?)
- Competitive positioning assessment (new threats, opportunities)
- Product line health check (what to double down on, what to sunset)
- Operational efficiency audit (what's breaking as you scale?)
- Team capacity planning (where do you need help?)
These rhythms create accountability and visibility. Problems that would compound for months get caught in weeks.

The Delegation Framework for Margin-Safe Scaling
You cannot scale past $500K in annual revenue without delegating core operational functions. But delegation without systems creates expensive chaos.
Tasks to Offload First (Highest Time Cost, Lowest Strategic Impact):
- Customer service and amazon seller support escalation – Template-based responses, escalation protocols, review management
- Listing compliance monitoring – Ensuring titles, bullets, backend search terms stay within Amazon's requirements
- Basic PPC monitoring – Daily bid adjustments based on documented rules
- Inventory tracking and reorder calculations – Spreadsheet-based forecasting following your formula
- Competitor price tracking – Using software + human verification against your repricing rules
Critical: Each delegated function needs:
- Written performance standards (what does "good" look like?)
- Quality check process (how do you verify it's being done correctly?)
- Clear ownership (one person accountable, not "the team")
- Regular review cadence (weekly check-ins initially, monthly once stable)
Tasks to Keep Control Of (High Strategic Impact):
- Product selection and launch decisions
- Supplier relationship management and negotiation
- Overall marketing strategy and positioning
- Financial planning and cash flow management
- Team hiring and performance management
When an Amazon Agency Makes Financial Sense
Here's the uncomfortable question: Should you handle amazon account management services in-house or partner with a specialized amazon agency?
The honest answer: It depends on your operational leverage point.
The DIY Threshold
Managing operations in-house makes sense when:
- Annual revenue is under $500K (you can still handle most tasks personally)
- You have 1-3 core products (operational complexity is manageable)
- Your margins are above 40% (you have room to make inefficient mistakes while learning)
- You enjoy the operational work (not everyone does, and that's okay)
The Agency Inflection Point
An amazon brand management agency partnership creates ROI when:
Scale complexity exceeds in-house capacity:
- You're managing 10+ parent ASINs across multiple categories
- International expansion is strategic but you lack country-specific expertise
- Your ad spend exceeds $15K/month (requires sophisticated campaign architecture)
Specialized expertise drives margin improvement:
- Your organic rankings have plateaued (advanced amazon listing optimization required)
- PPC performance is stagnant despite budget increases (needs campaign restructuring)
- You're losing money to Amazon errors (systematic amazon reimbursement audit needed)
Operational bandwidth is your constraint:
- You're rejecting growth opportunities because you can't execute them
- Quality is slipping because you're spread too thin
- You're working IN the business instead of ON the business
The Hybrid Model
The most margin-efficient approach for many seven-figure sellers is the hybrid model:
Keep strategic control in-house:
- Product selection and development
- Overall brand positioning
- Financial management
Partner with specialized agencies for:
- PPC campaign management and optimization
- Listing content and A+ page creation
- Catalog audits and compliance monitoring
- Reimbursement recovery
- International marketplace expansion
This preserves your strategic control while leveraging specialized operational expertise where it drives measurable margin improvement.

The Scale-Without-Bleeding Playbook
Here's your operational framework for margin-protecting growth:
Phase 1: Build Your Foundation (Months 1-3)
Document your current state:
- Create SOPs for every revenue-touching process
- Calculate true profitability by SKU (including all allocated costs)
- Map your current operational capacity and constraints
- Identify your top 3 margin leak sources
Establish operational rhythms:
- Implement weekly, monthly, quarterly review calendar
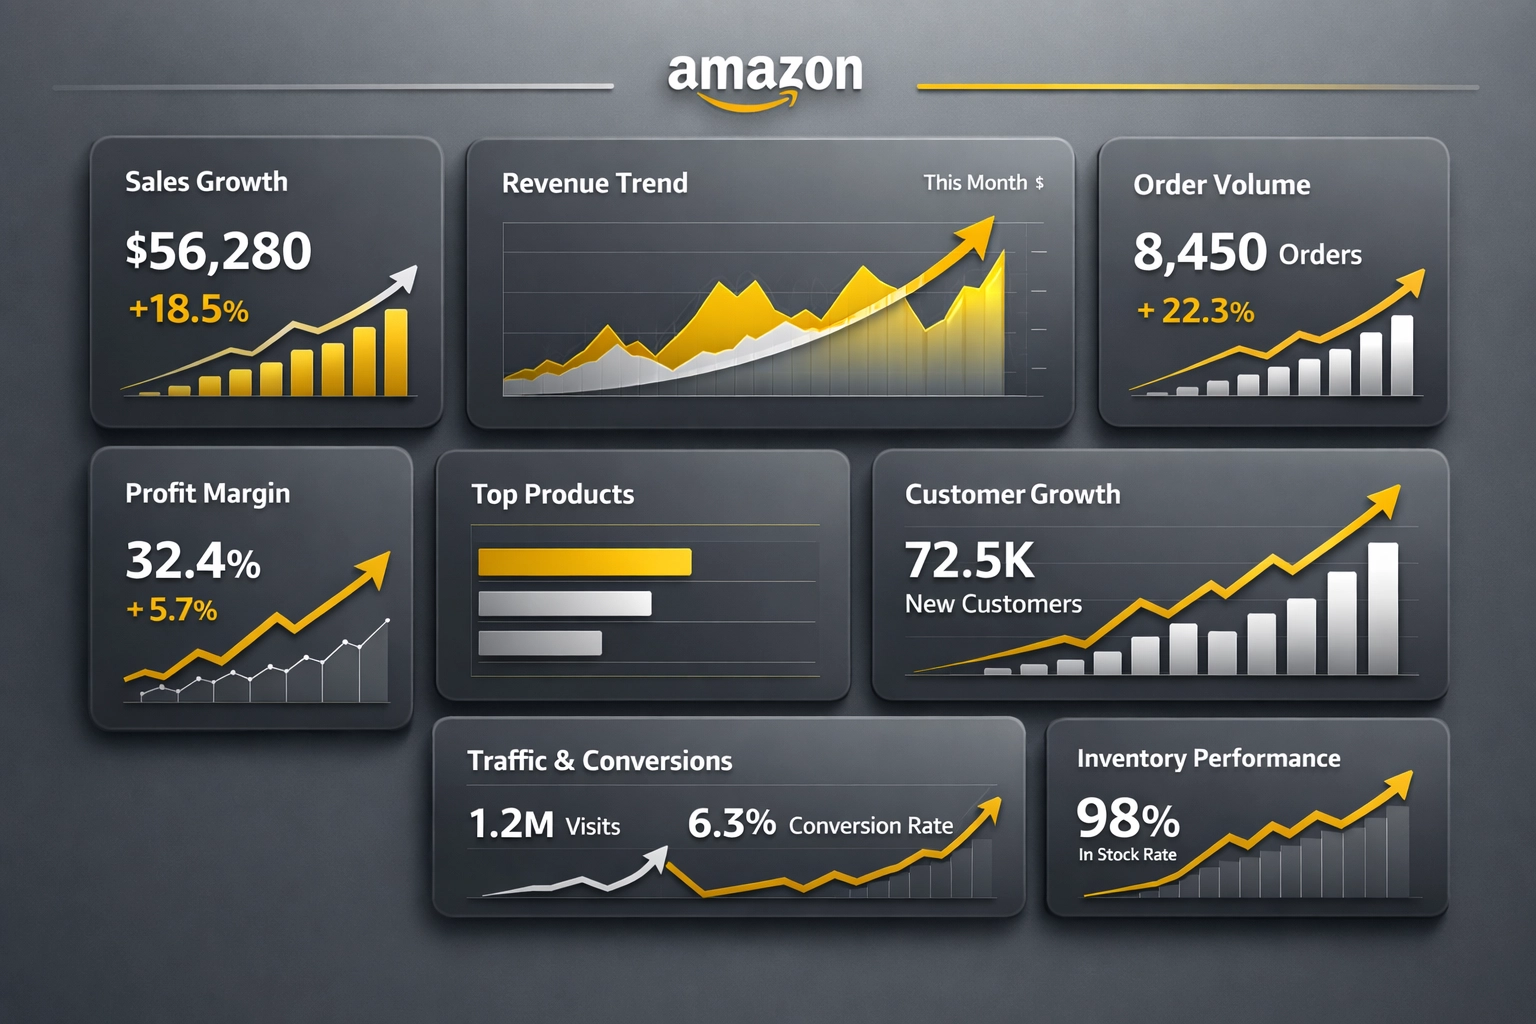
- Set up dashboard tracking for key margin metrics
- Create decision frameworks for common scenarios (pricing, inventory, hiring)
Phase 2: Optimize Before You Scale (Months 4-6)
Fix existing inefficiencies:
- Improve underperforming PPC campaigns (get ACoS to target before scaling)
- Optimize existing listings (conversion rate improvements = margin expansion)
- Streamline supplier relationships (better terms = improved margins)
- Implement systematic amazon reimbursement audit process (recover lost money)
Test portfolio expansion:
- Launch 2-3 variations or bundles of proven products
- Validate product selection framework with low-risk additions
- Document what works and what doesn't
Phase 3: Strategic Scaling (Months 7-12)
Scale what's working:
- Double down on high-margin product lines
- Increase ad budget on campaigns hitting profitability thresholds
- Expand into complementary categories using proven framework
Build leverage through delegation:
- Hire or outsource for documented, high-volume tasks
- Establish quality controls and performance monitoring
- Free up your time for strategic decisions only
Consider partnership options:
- Evaluate whether specialized agency support would improve margins
- Test with one focused engagement (PPC management, listing optimization)
- Measure ROI rigorously before expanding partnership scope
Phase 4: Systematic Growth (Month 13+)
Operate from systems, not heroics:
- Your business should run according to documented playbooks
- Team members execute to standards, you review performance data
- Strategic decisions are made based on financial metrics, not gut feel
Continuous margin protection:
- Monthly profitability analysis by SKU
- Quarterly operational efficiency audits
- Annual strategic planning based on margin trends

The Bottom Line
Scaling Amazon operations without losing margins requires a fundamental mindset shift: from revenue maximization to profit optimization.
That means:
- Building systems that eliminate inefficiency before it compounds
- Expanding product portfolios strategically, not opportunistically
- Optimizing advertising based on profitability stages, not vanity metrics
- Creating operational rhythms that catch margin leaks early
- Delegating with documented standards, not vague expectations
- Partnering with specialists when expertise drives measurable margin improvement
The sellers who thrive at scale aren't necessarily the hardest workers: they're the most systematic operators.
If you're ready to scale without sacrificing profitability, start with these three actions this week:
- Calculate your true profit margins by SKU – You can't protect what you don't measure
- Document one critical operational process – Start building your SOP library
- Set up your first operational rhythm – Weekly PPC review, monthly P&L analysis, or quarterly strategy session
Growth without profitability is just expensive chaos. Build the systems that let you scale sustainably.
Need help building your margin-protecting operational framework? Marketplace Valet specializes in systematic Amazon account management that prioritizes profitability as much as growth. Let's talk about your scaling goals.
Related Resources: