You've hit your stride on Amazon. Sales are climbing, reviews are solid, and you're starting to think bigger. Maybe it's time to expand your product line, launch into new categories, or finally invest in aggressive PPC campaigns.
But here's the thing: scaling without the right foundation is like flooring the gas pedal on a car with a cracked frame. You might move fast initially, but everything falls apart when the pressure increases.
I've watched too many brands rush into scaling mode only to face inventory nightmares, hemorrhaging ad spend, or: worst case: account suspensions that wipe out months of momentum. The good news? With the right amazon brand management strategy in place, you can scale profitably and sustainably.
In this post, we'll break down the 10 non-negotiables you need locked in before you hit the accelerator. Whether you're handling everything in-house or working with an amazon account management services partner, these fundamentals will determine whether your growth is smooth or chaotic.
Let's dive in.
Why Most Amazon Brands Fail When They Scale
Before we get into the checklist, let's talk about why scaling goes sideways.
The most common mistake? Assuming that what works at $50K/month will work at $500K/month. It won't. Your scrappy inventory system, manual PPC tweaks, and DIY listing optimization simply can't handle exponential growth.
Here's what typically breaks first:
- Stockouts that kill your ranking and tank your conversion rate
- Inefficient PPC campaigns that blow through budgets without ROI
- Customer service backlogs that lead to negative reviews
- Cash flow crunches from poor inventory planning
Scaling isn't just about doing more: it's about building systems that can handle more. That's where proper amazon brand management becomes mission-critical.
The 10 Things You Need Before Scaling Your Amazon Brand
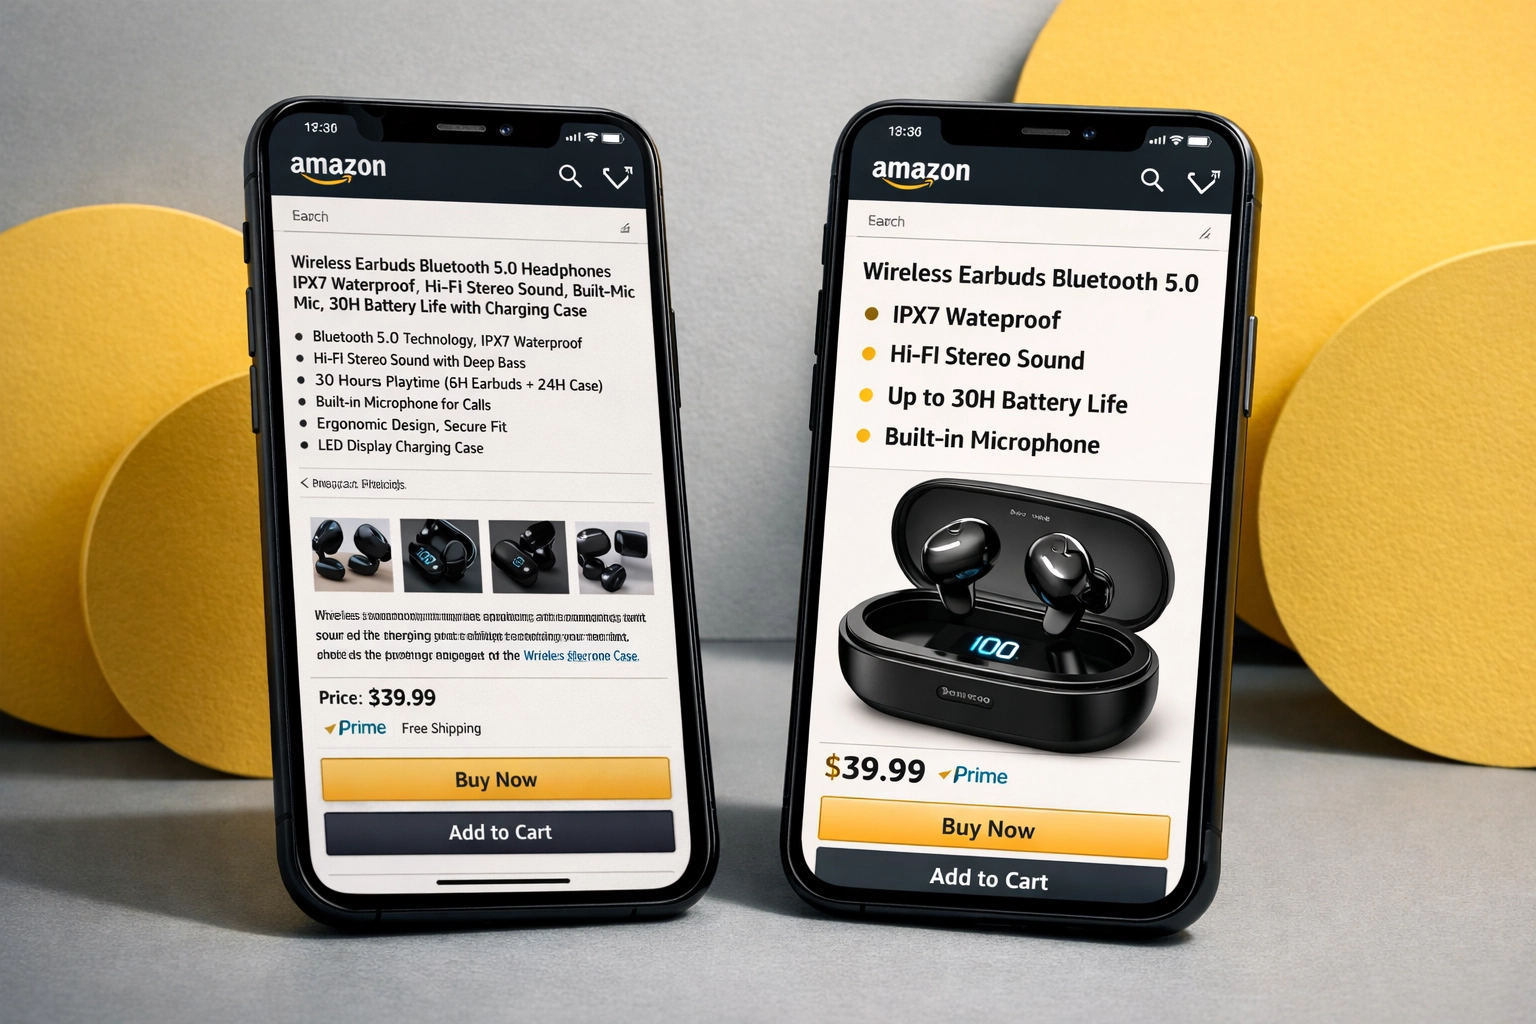
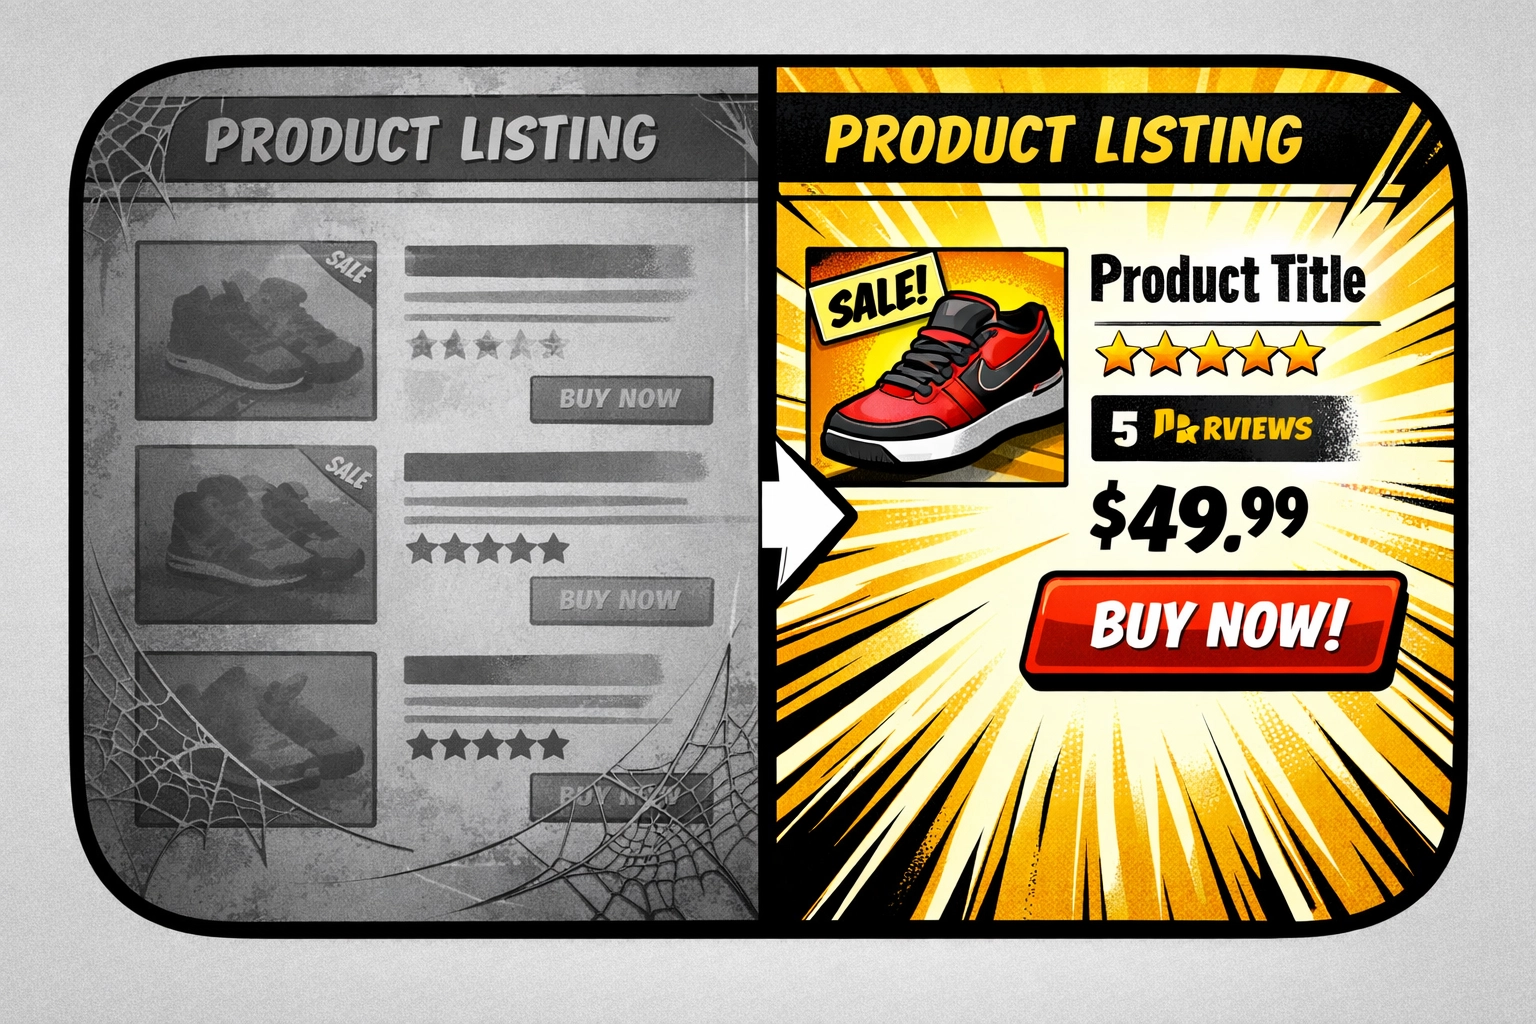
1. Fully Optimized Product Listings
If your current listings aren't converting at a high rate, don't scale yet. Period.
What "fully optimized" actually means:
- SEO-optimized titles that balance keyword density with readability
- Benefit-driven bullet points (not just feature lists)
- High-resolution lifestyle photography showing your product in use
- A+ Content or Premium A+ Content that tells your brand story
- Backend search terms maxed out with relevant keywords
Your listing is your 24/7 salesperson. Before you pour more traffic into it, make sure it's actually selling. If you haven't run A/B tests on your images or bullet points in the past 90 days, start there.
Pro tip: Use Amazon's Manage Your Experiments tool to test different main images or titles. Even a 2% conversion lift becomes massive when you scale traffic.
Need help with this? Check out our guide on amazon listing optimization strategies that drive actual conversions.
2. Predictive Inventory Management System
Nothing kills momentum faster than running out of stock right when sales are climbing.
You need:
- Forecasting software (ConnectStock, RestockPro, SoStocked, or Amazon's own Inventory Planning)
- Velocity-based reorder triggers that account for lead times
- Seasonality data beyond simple 30-day averages
- Safety stock buffers for your top SKUs
Here's the formula you should be using:
Reorder Point = (Average Daily Sales × Lead Time) + Safety Stock
For safety stock, calculate:
Safety Stock = (Max Daily Sales – Average Daily Sales) × Lead Time
If you're still reordering based on gut feel or when you "notice" inventory getting low, you're not ready to scale. Period.

3. Supply Chain That Can Handle 3X Volume
Your supplier can handle your current orders. Great. But can they handle triple that volume in 60 days?
Questions to ask right now:
- What's your supplier's maximum production capacity?
- What's their lead time if you suddenly order 3X your normal quantity?
- Do you have backup suppliers identified?
- Can your freight forwarder handle increased shipment frequency?
Consider a 3PL partnership: If you're solely reliant on FBA and hitting storage limits, you need a third-party logistics provider as a buffer. They can prep, store overflow inventory, and create shipments to FBA as needed. This becomes essential when you scale.
Amazon's recent changes to FBA prep services make this even more critical. We covered this extensively in our post about Amazon ending FBA prep services in 2026.
4. Amazon Brand Registry + Full Brand Protection
If you're not enrolled in Brand Registry, stop reading and do that first. Seriously.
Brand Registry unlocks:
- A+ Content (which can increase conversion by 5-10%)
- Brand Analytics showing customer search behavior
- Sponsored Brands ads and video campaigns
- Better intellectual property protection against hijackers
Beyond registration, you need:
- Trademark monitoring for potential infringers
- Transparent Program enrollment (if eligible) for even deeper counterfeit protection
- Brand Stores that create a premium shopping experience
- Custom packaging and inserts that reinforce your brand (without violating TOS)
Your brand isn't just your logo: it's the entire customer experience. Scaling means more customers will encounter your brand, so make sure that experience is cohesive and protected.
5. Proven Profitable Unit Economics
This one's simple but often overlooked: Do you actually make money on each sale?
Calculate your true unit economics:
Profit per Unit = Sale Price – (COGS + Amazon Fees + FBA Fees + Shipping to FBA + PPC Cost + Returns/Refunds)
If your margin is under 20% after all costs, scaling might just mean losing money faster. Before you expand, either:
- Increase your price (test this carefully)
- Reduce COGS through better supplier negotiations
- Improve PPC efficiency to lower customer acquisition cost
- Decrease return rates through better product quality or listing clarity
Scaling unprofitable products is financial suicide. Make sure your winners are actually winning.

6. Clear Category and Niche Expansion Strategy
Random product sprawl kills brands. Don't jump from kitchen gadgets to pet supplies just because you found a "hot product."
Smart expansion looks like:
- Complementary products within your niche (selling coffee makers? Add coffee grinders)
- Variations of existing winners (different sizes, colors, or bundles)
- Products that share customer demographics (camping gear buyers often need multiple related items)
This approach allows you to:
- Cross-sell through PPC and Brand Stores
- Build category authority that boosts organic ranking
- Leverage existing positive reviews to build trust in new products
- Share marketing assets (photos, videos, A+ Content themes)
If you're scaling with deal stacking strategies, this cohesive product strategy becomes even more powerful.
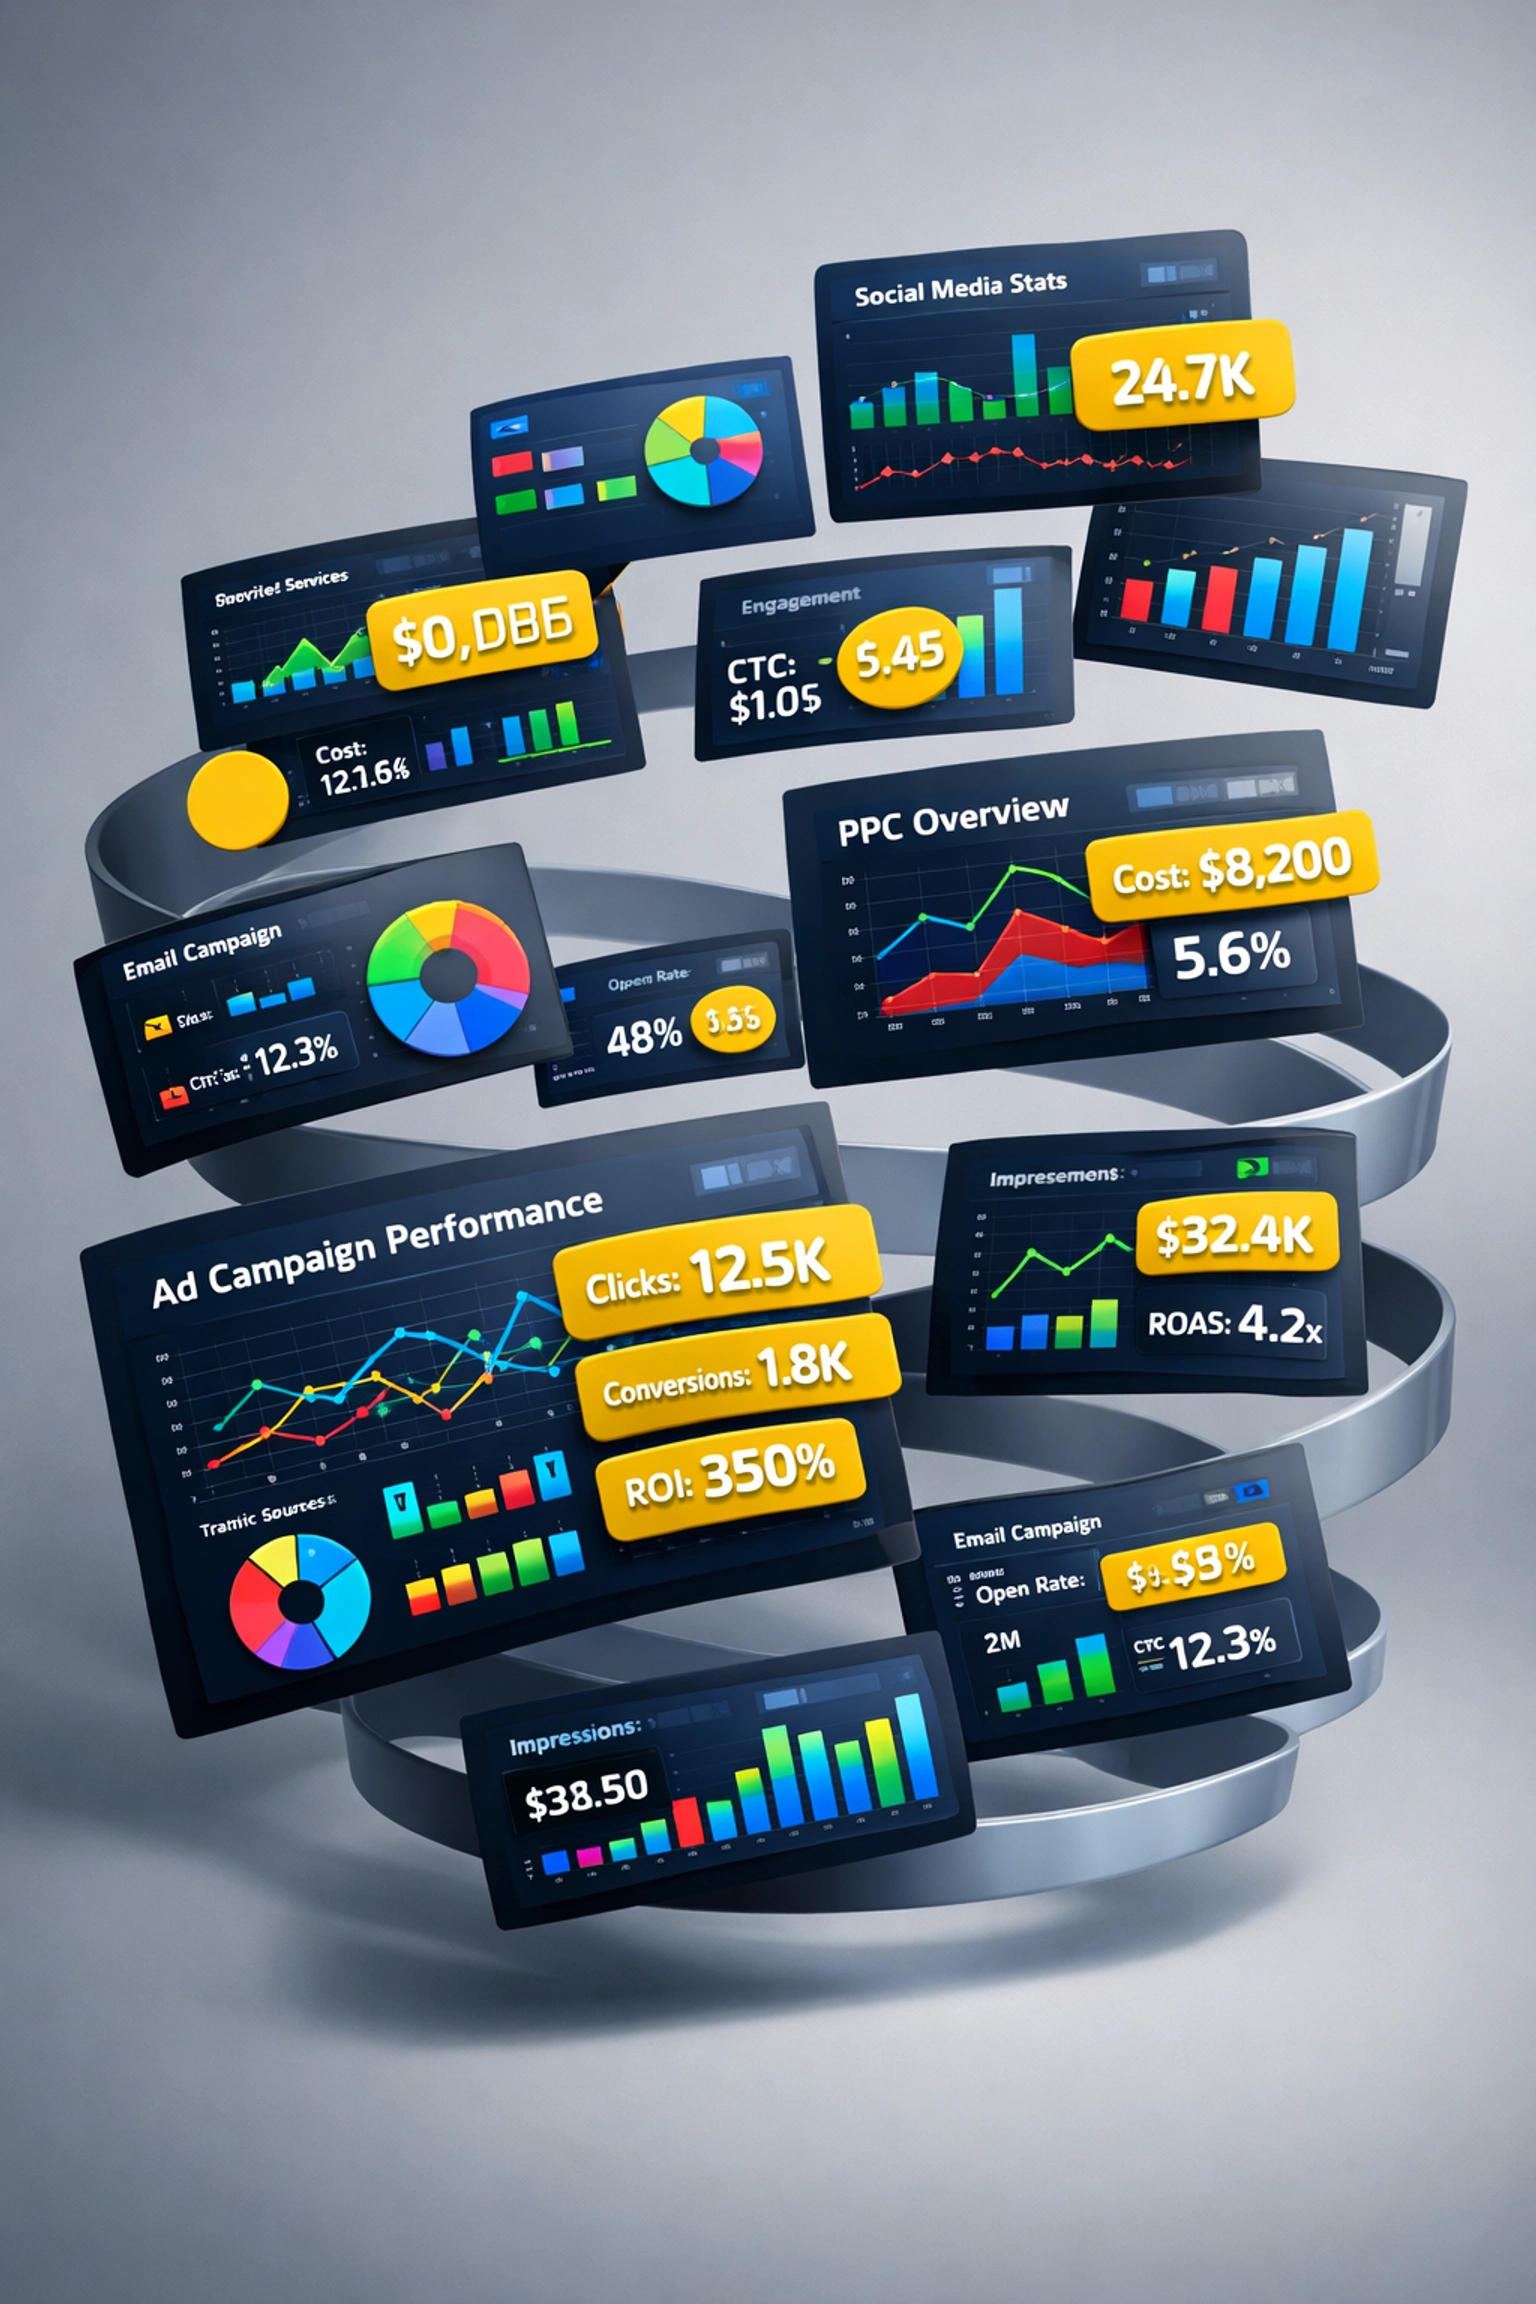
7. Structured, Profitable PPC Campaigns
Throwing more money at poorly structured PPC campaigns doesn't scale: it just burns cash faster.
Before scaling ad spend, you need:
Campaign structure:
- Branded campaigns (defend your brand name, should be highly profitable)
- Competitor campaigns (target competitor ASINs and keywords)
- Generic keyword campaigns (broad customer acquisition)
Metrics you're actively monitoring:
- ACoS (Advertising Cost of Sale) by campaign type
- TACoS (Total Advertising Cost of Sales) for the big-picture view
- Conversion rate by keyword and match type
- Wasted spend on non-converting keywords
Optimization habits:
- Weekly negative keyword harvesting
- Bid adjustments based on placement performance
- Regular search term analysis to find new winners
If you're struggling with zero impressions or high ACoS, we've written extensively about common PPC causes and fixes and reducing ACoS strategically.
Pro tip: Don't scale a campaign with ACoS above 50% unless you have a specific customer lifetime value strategy that justifies it.
8. Automation Tools and Tech Stack
Manual processes don't scale. Full stop.
Essential automation for scaling:
Pricing management:
- Tools like RepricerExpress or Informed.co for dynamic repricing
- Automated responses to Buy Box changes
Inventory alerts:
- Real-time notifications when stock hits reorder points
- Automatic purchase order creation
Customer service:
- Template responses for common questions
- Auto-responders for review requests (compliant with Amazon's TOS)
Reporting dashboards:
- Daily sales and profit metrics
- Unified view across all SKUs and ad campaigns
The right tools free up your time for strategic decisions rather than tactical firefighting. When you're scaling, every hour matters: automate the repeatable, focus on the strategic.
9. Data Analytics and Performance Monitoring
You can't improve what you don't measure. And you definitely can't scale what you don't understand.
Key metrics to track daily:
- Session percentage (traffic quality indicator)
- Unit session percentage (conversion rate)
- Buy Box percentage (are you actually winning the sale?)
- Advertising RoAS (return on ad spend)
- Inventory health score (Amazon's own metric)
Weekly deep dives:
- Customer reviews sentiment analysis (what's working, what's breaking)
- Search query reports from PPC (what customers are actually searching)
- Category trends (is your niche growing or shrinking?)
Monthly strategic review:
- Profitability by SKU (which products are funding the others?)
- Customer lifetime value estimates (if you have repeat buyers)
- Competitive positioning changes (who's entering your space?)
Use Amazon's native tools (Brand Analytics, Search Query Performance) plus third-party tools like Helium 10, Jungle Scout, or DataHawk for deeper insights.
The rule: If you can't explain why your sales went up or down last week using actual data, you're not ready to scale.

10. Proper Business Structure and Financial Systems
This is the unsexy stuff nobody talks about: but it's critical.
Business structure:
- LLC or Corporation formation (if you haven't already)
- Clear accounting separation between personal and business finances
- Sales tax compliance systems (Amazon collects in most states, but not all scenarios)
Financial systems:
- Accounting software (QuickBooks, Xero, or Amazon-specific tools like A2X)
- Cash flow forecasting that accounts for Amazon's payment schedule
- Profit tracking by product (not just revenue)
- Tax planning (quarterly estimates, understanding of inventory tax implications)
Why this matters for scaling: As you grow, you'll need:
- Business credit lines (which require proper business structure)
- Better supplier terms (they'll check if you're a legitimate entity)
- Clean books if you ever want to sell your brand (multiples are based on profit, not revenue)
If you're still running everything through your personal checking account, pause on scaling and get this house in order first.
Red Flags That You're NOT Ready to Scale
Even if you've checked most boxes above, watch for these warning signs:
❌ Inconsistent week-to-week sales (fix the stability first)
❌ Review rating below 4.3 stars (improve the product before scaling traffic)
❌ Frequent stockouts (your inventory system isn't working)
❌ PPC campaigns you don't understand (burning money isn't scaling)
❌ Lack of cash reserves (you need 3-6 months operating capital)
❌ No team support (one-person shows hit ceilings fast)
Scaling amplifies everything: both your strengths and your weaknesses. If there are cracks in your foundation, they'll become chasms when you pour traffic and inventory into them.
The Right Way to Scale: Systems Over Hustle
Here's what sustainable scaling actually looks like:
✅ You can take a week off and sales don't collapse
✅ Inventory reorders happen automatically based on data
✅ PPC campaigns adjust without daily babysitting
✅ Customer service runs smoothly with templates and SOPs
✅ You're adding products strategically, not randomly
✅ Profit margins improve as you scale (economies of scale)
The brands that scale successfully aren't working harder: they're working smarter through systems and strategic investments.
Sometimes that means bringing in expert amazon account management services to handle the specialized stuff (like advanced PPC or international expansion) while you focus on product development and strategy. We've covered the real costs of in-house vs. agency management if you're weighing that decision.
Final Thoughts: Build Before You Grow
Scaling isn't about growth for growth's sake. It's about building something sustainable that can handle success.
The 10 things we've covered aren't optional nice-to-haves: they're the difference between brands that scale smoothly and brands that flame out after six months of chaotic growth.
Take the time to audit your business against this checklist. Be brutally honest. If you've got gaps, fill them before you hit the gas pedal.
Because the goal isn't just to grow fast: it's to build a brand that can handle whatever comes next in Amazon's ever-changing ecosystem.
Ready to scale the right way? Start with the foundational piece most brands miss: proper amazon listing optimization that actually converts traffic. Then work your way through the rest.
Your future (scaled) self will thank you.
What's your biggest scaling challenge right now? Drop a comment or reach out to our team at Marketplace Valet: we love helping brands grow sustainably.
#AmazonBrandManagement #AmazonSeller #FBABusiness #AmazonPPC #EcommerceGrowth #AmazonFBA #ScalingAmazon