How to Use Amazon’s Case Log: A Complete Guide for Sellers
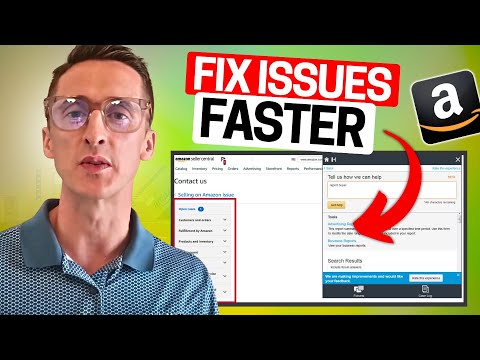
Amazon's Case Log is a tool inside Seller Central that tracks every support case you open with Amazon, showing each case ID, status, and the latest…
Read articleStrategies, breakdowns, and field notes on winning the Amazon marketplace.
Amazon's Case Log is a tool inside Seller Central that tracks every support case you open with Amazon, showing each case ID, status, and the latest…
Read article →
To escalate an Amazon Seller Support case, reopen your existing case in Seller Central, clearly request escalation in the case thread, and — if that doesn't…
Read article →
Amazon's Voice of the Customer (VOC) program is a Seller Central dashboard that aggregates customer complaints, return reasons, and satisfaction data for each of your ASINs,…
Read article →
When Amazon loses or damages your FBA inventory due to errors in its own network, you are usually eligible for reimbursement at the product's fair market…
Read article →
To handle a product authenticity complaint on Amazon, you need to immediately gather your supplier invoices and certificates of authenticity, then submit a detailed Plan of…
Read article →
To appeal negative seller feedback on Amazon, go to Performance > Feedback in Seller Central, find the feedback entry, click Actions, and select "Request Removal" —…
Read article →
To comply with Amazon's pricing policy, keep your prices consistent with other sales channels (price parity), never engage in price gouging during high-demand periods, and make…
Read article →
To comply with Amazon's Intellectual Property Policy, sell only authentic and authorized products, never use trademarks, copyrighted images, text, or patented designs you do not own…
Read article →Amazon's A-to-Z Guarantee protects buyers when a third-party seller doesn't deliver as promised — covering situations where items arrive late, arrive damaged, don't match the listing,…
Read article →
To appeal an Amazon policy violation, you need to identify the root cause, write a Plan of Action (POA) that acknowledges the issue and outlines corrective…
Read article →